 |
||||

|
Xin Cube Home > Articles > Xin Invoice 3.0 User Guide > Company Information > Add New Company
|
||
|
Getting Started Company Information Definition Add New Company Open Company Update Company Delete Company Add Company Logo Remove Company Logo Set System Data Default Document Setting Payment Terms Inventory Category Tax Reference Code Email Format Setup Email Server Personal Preference Inventory Database Definition Add new Inventory Update Inventory Delete Inventory Add Inventory Photo Remove Inventory Photo Import Inventory Export Inventory Customer Database Definition Add new Customer Update Customer Delete Customer Add Customer Photo Remove Customer Photo Import Customer Export Customer Sales Person Database Definition Add new Sales Person Update Sales Person Delete Sales Person Add Sales Person Photo Remove Sales Person Photo Add Sales Person Signature Remove Sales Person Signature Import Sales Person Export Sales Person Quotation Definition Draft Quotation Generate Quotation Update Quotation Delete Quotation Duplicate Quotation Customize Template Invoice Definition Draft Invoice Generate Invoice Update Invoice Delete Invoice Duplicate Invoice Import From Quotation Generate Delivery Note Receive Payment Recurring Invoice Customize Template Credit Note Definition Draft Credit Note Generate Credit Note Update Credit Note Delete Credit Note Duplicate Credit Note Import From Invoice Customize Template Security Set Password Data Backup |
Add New CompanyAfter you installed Xin Invoice 3.0 in your computer, on the first time when you run Xin Invoice program, a first company will be created by default. You can still create another new company with a new set of data.1. In Xin Invoice 3.0 program, click on "Company" tab on the top right corner to open Company Database. 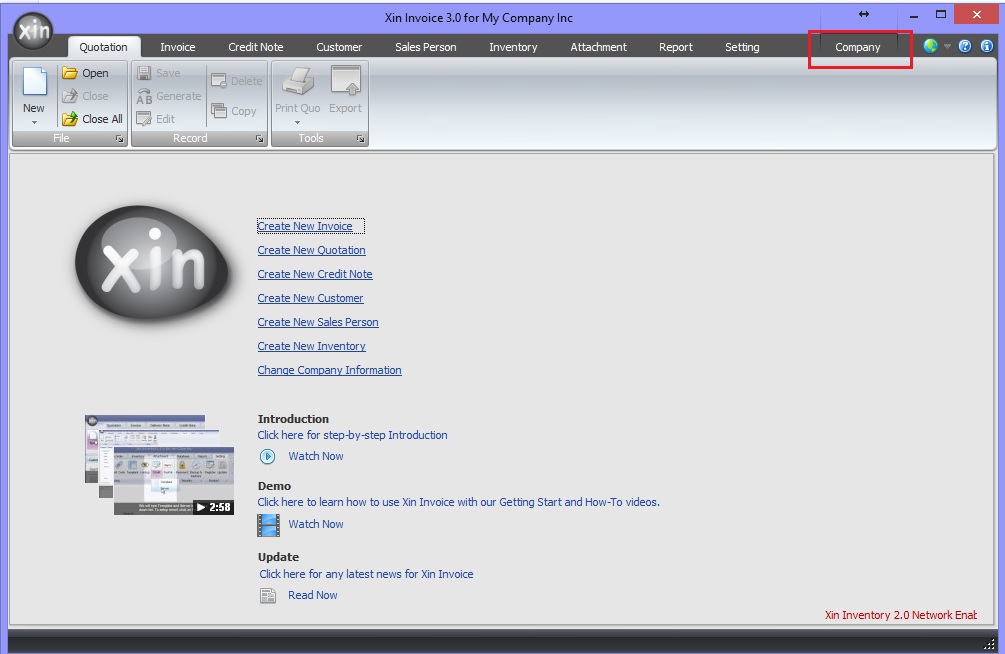 2. This is the Company Database main screen. You shall see the default created company. 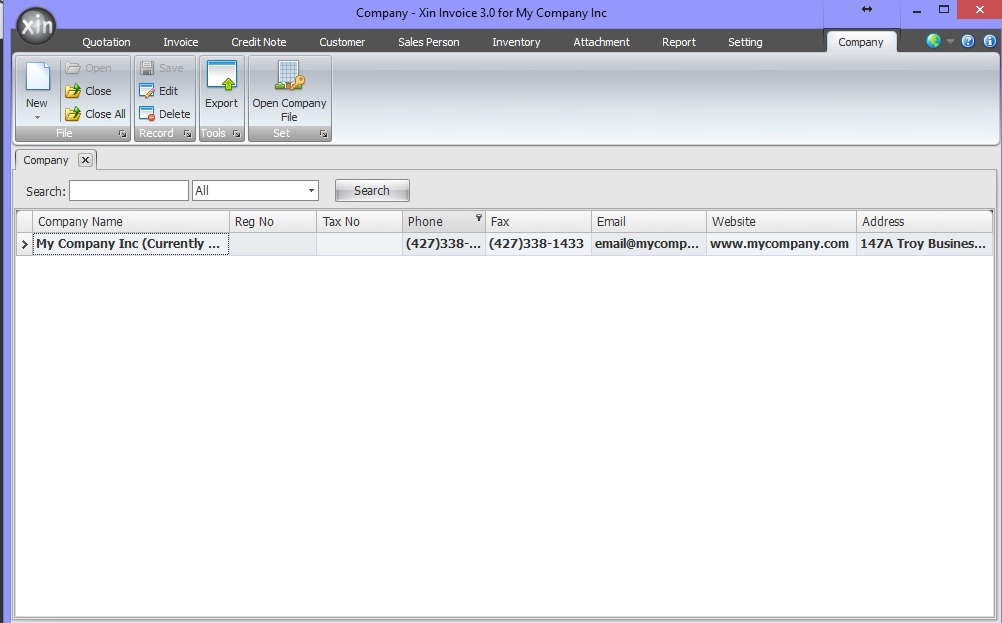 3. Click on the drop down button under "New" on the top left menu, select "Create New using Wizard". 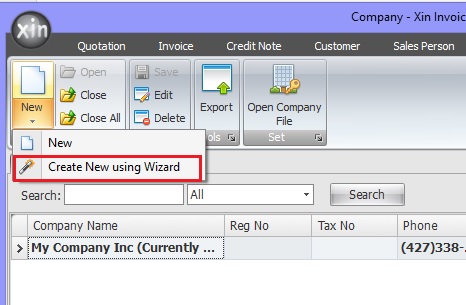 4. On the popup Wizard screen, click button "Next". 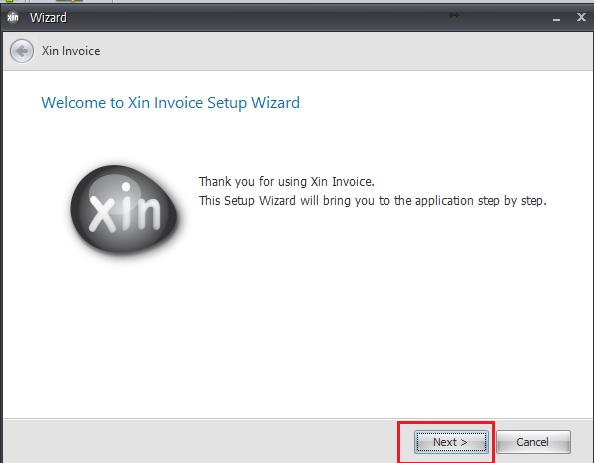 5. Enter company information and tax information, click button "Next". 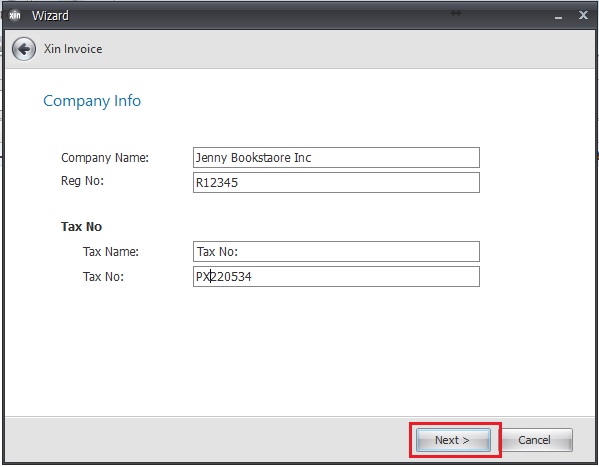 6. Enter company contact information, click button "Next". 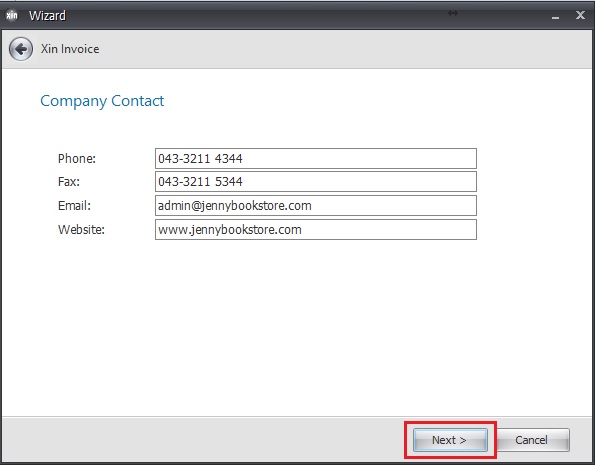 7. Enter company address. If you have a long address, you may enter up to the maximum 4 columns, otherwise leave blank. Click button "Next". 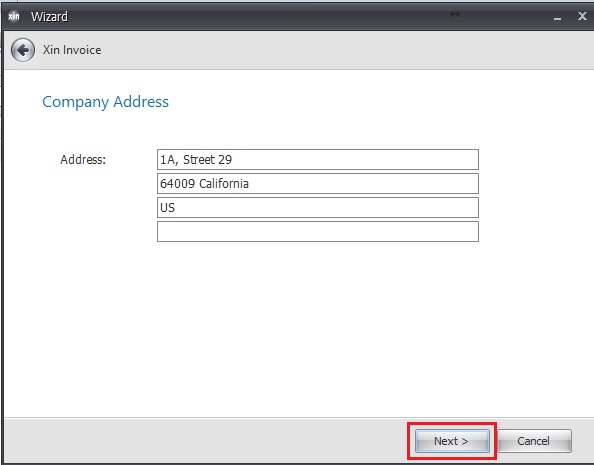 8. Upload your company logo. Click on "Browse" button to choose your company logo file. If you do not have a company logo image file now, uncheck the option "Use Company Logo". You can always upload the logo later. Click button "Next". 9. Enter your default document setting. Click here for more information about default document setting.Click button "Next". 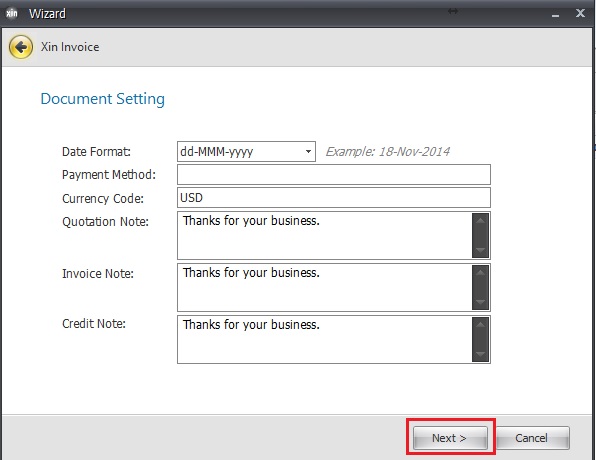 10. Define tax setting. Click here for more information about defining a tax code.Click button "Next". 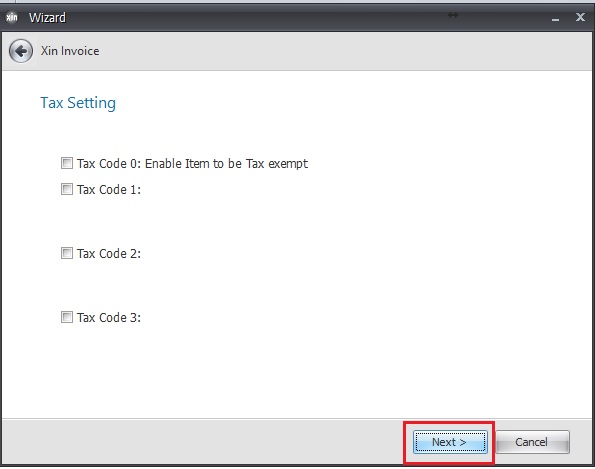 11. Choose your taxation method. Click here for more information about defining a taxation method.Click button "Next". 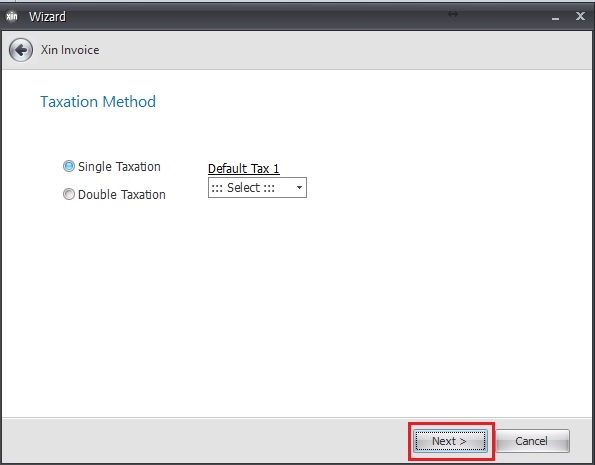 12. Define Quotation Reference Code. Click here for more information about defining a Reference Code.Click button "Next". 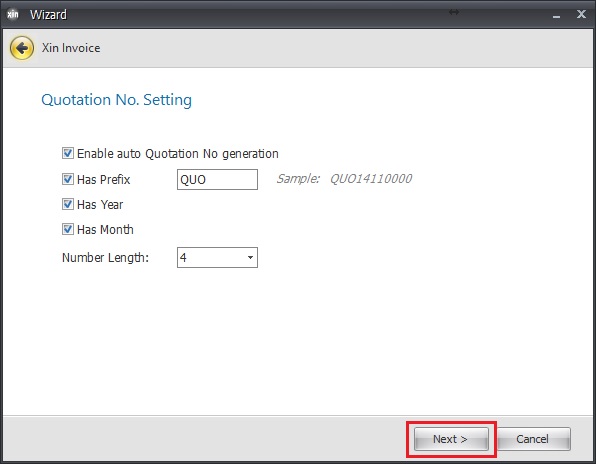 13. Define Invoice Reference Code. Click here for more information about defining a Reference Code.Click button "Next". 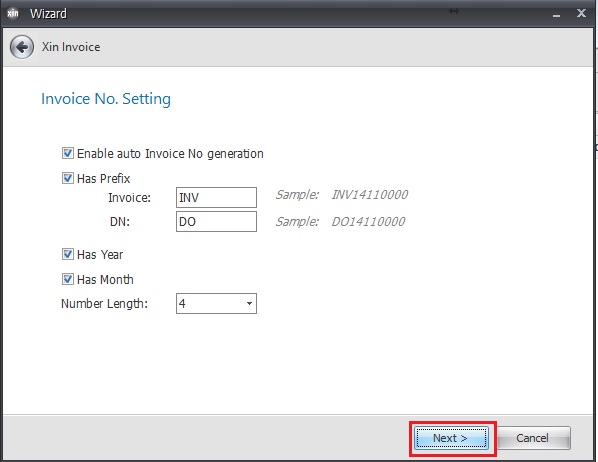 14. Define Credit Note Reference Code. Click here for more information about defining a Reference Code.Click button "Next". 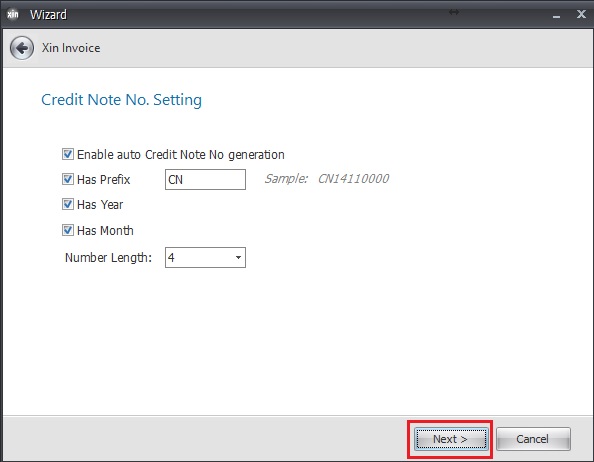 15. Click on button "Finish". Great job! You have now completed the wizard an new company has been created. 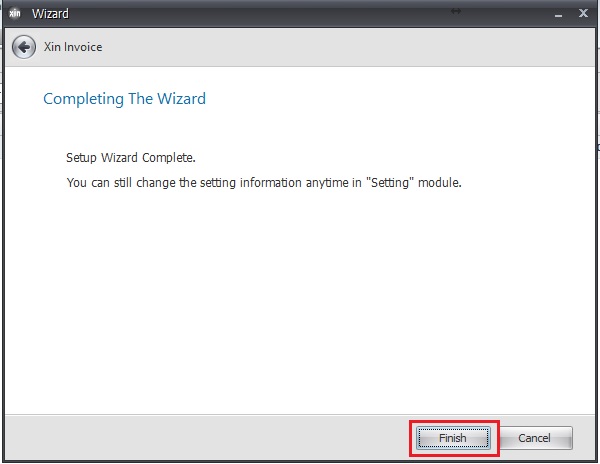 16. Now you will see your newly created company listed on the Company Database 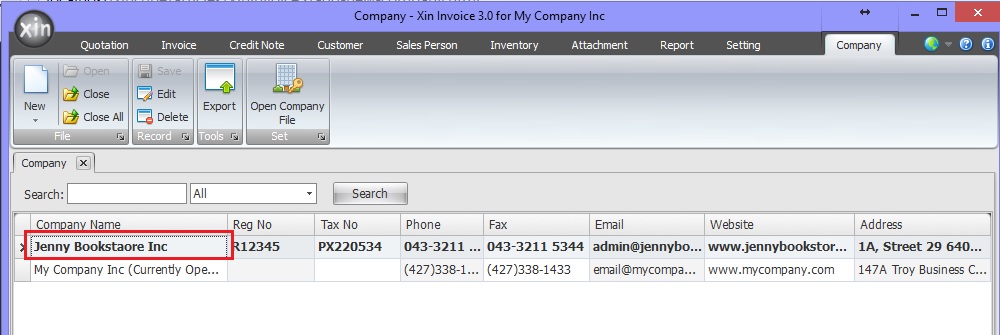 Next : Click here to learn how to open this newly created Company >> |
|
| Contact Us | For all Support issues, please use our online ticketing system. | Email Us | E-mail us anytime at
and we'll help. Please give us a few business days to respond! Thanks! |
Copyright © xincube 2009 ALL RIGHTS RESERVED. www.xincube.com