Getting Started
Company Information
Definition
Add New Company
Open Company
Update Company
Delete Company
Add Company Logo
Remove Company Logo
Set System Data
Default Document Setting
Payment Terms
Inventory Category
Tax
Reference Code
Email Format
Setup Email Server
Personal Preference
Inventory Database
Definition
Add new Inventory
Update Inventory
Delete Inventory
Add Inventory Photo
Remove Inventory Photo
Import Inventory
Export Inventory
Customer Database
Definition
Add new Customer
Update Customer
Delete Customer
Add Customer Photo
Remove Customer Photo
Import Customer
Export Customer
Sales Person Database
Definition
Add new Sales Person
Update Sales Person
Delete Sales Person
Add Sales Person Photo
Remove Sales Person Photo
Add Sales Person Signature
Remove Sales Person Signature
Import Sales Person
Export Sales Person
Quotation
Definition
Draft Quotation
Generate Quotation
Update Quotation
Delete Quotation
Duplicate Quotation
Customize Template
Invoice
Definition
Draft Invoice
Generate Invoice
Update Invoice
Delete Invoice
Duplicate Invoice
Import From Quotation
Generate Delivery Note
Receive Payment
Recurring Invoice
Customize Template
Credit Note
Definition
Draft Credit Note
Generate Credit Note
Update Credit Note
Delete Credit Note
Duplicate Credit Note
Import From Invoice
Customize Template
Security
Set Password
Data Backup
|
|
Add Sales Person Photo
You may want to keep the sales person's photo as reference. It will not be used in any print-out template of your Quotation, Invoice, Delivery Note, Credit Note and Customer Statement. It is just for your own reference
in the Sales Person Database.
To make sure the the photo is displayed nicely in the program, please adjust the photo size to smaller.
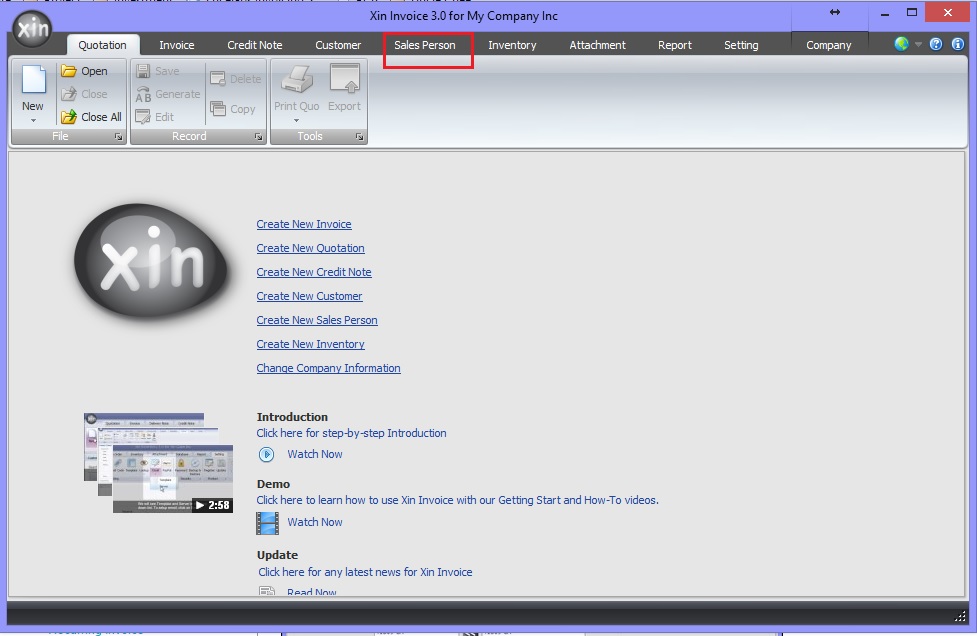
1. In Xin Invoice 3.0 program, click on "Sales Person" tab on the top menu to open Sales Person Database.
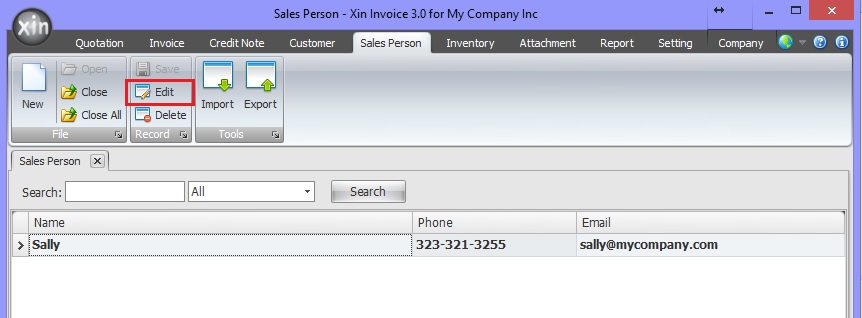
2. Double click on the Sales Person you want to edit, or select the Sales Person and click "Edit" button on the top menu.
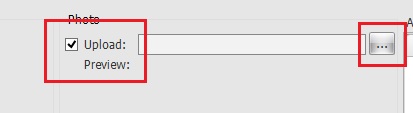
3. At "Photo" section, check the option "Upload", then click on button "..." to insert your sales person photo image file.
4. Click on button "Save" on the top left menu to save your sales person information.
Next : Click here to learn how to remove your Sales Person Photo >>
|